I recently launched this Peer Lab website (edit: new link is here) to list the peer labs around the world and to provide instructions on starting one. It’s a small site with no need for a backend, so I decided to host it as static HTML. However, it was important that adding new labs would be easy for outside contributors. Since I had used the tool before to build a few static websites – including this blog – I turned to Middleman.
Let’s explore the exact process I went through. I’m going to provide a series of high-level steps and link to actual code when I can, so you can replicate this for whatever site you need to build. However, every website is different, so “some assembly required” 😉
The first thing you’ve got to do is create a new GitHub repository. We’ll use the repo to store the source code and also to host the site (each on their own branch, but more on that later). Install Middleman with gem install middleman, and then run middleman init to create the empty scaffold of your site. You can now run middleman to start a server and browse the site locally. Nice! Time to commit your changes and push.
Okay, so we’re running locally. Now we need to be able to deploy. I added the middleman-gh-pages gem to my Gemfile and ran bundle install, and followed their instructions to create a new Rake task. Now deploying to GitHub Pages is as easy as typing rake publish. Try it out to make sure it works: it will build the site using Middleman and push a copy of the static HTML to the gh-pages branch of your repo. Nice! Commit your changes and push them.
Optionally, follow the GitHub Pages documentation on using a custom domain name. Put the CNAME file in the source directory of your site’s repo.
Now that we have deploys working, it’s time to automate them. Set up a new CI project on Travis or Circle CI (I used Travis, but they’re both awesome choices). CI is going to need to be able to push to your GitHub repo, so you’ll need a GitHub personal access token with the necessary permissions, stored in a CI secure environment variable. Once you’ve done that, we need to tell git to use the token when pushing to GitHub. In your CI setup, add something like the following:
before_install:
  - echo -e "machine github.com\n  login ci-user\n  password $GITHUB_API_KEY" >> ~/.netrc
  - chmod 600 ~/.netrc
  - git config --global user.email "ash@ashfurrow.com"
  - git config --global user.name "Ash Furrow (via Travis)"
Storing the access token in .netrc provides the login info for when git tries to push to GitHub, via the middleman-gh-pages gem. Nice.
Your CI needs some sort of script to test that the site generated successfully. I use bundle exec middleman build --build-dir=test to generate the site in a test directory. I want the testing and the deploying to be separate, but this means that we’re actually building the site twice. It’s a performance hit, but not a huge deal unless your site is huge.
Ok, so in your CI config, after a successful build, we’ll want to add the following line: bundle exec rake travis ALLOW_DIRTY=true. This executes the travis Rake task with ALLOW_DIRTY, needed for the GitHub Pages deploy gem. Let’s create that Rake task to only deploy on pushes to master. Here’s what it looks like for Travis:
task :travis do
  branch = ENV['TRAVIS_BRANCH']
  pull_request = ENV['TRAVIS_PULL_REQUEST']

  abort 'Must be run on Travis' unless branch

  if pull_request != 'false'
    puts 'Skipping deploy for pull request; can only be deployed from master branch.'
    exit 0
  end

  if branch != 'master'
    puts "Skipping deploy for #{ branch }; can only be deployed from master branch."
    exit 0
  end

  Rake::Task['publish'].invoke
end
This script will look different for Circle, check out their documentation for more details. Commit your changes and push them to GitHub. Watch your CI and – if everything goes right – your site should be deployed automatically, within minutes. Awesome!
Now that the deploy process is automated, we can really quickly iterate on the site’s content and design. Oh hey, design, that’s a great idea! Time to replace the Middleman scaffold.
Head over to Start Bootstrap and grab one of their templates. After you’ve picked one, give it attribution in your site’s Readme. Importing the template itself is kind of tricky, as it’s different for each template. You’ll want to start by moving the templates’ JavaScript files into the source/javascripts directory of your Middleman site, and do the same for any images and stylesheets. Now comes the really tricky part.
The template files are plain HTML, but Middleman uses ERB to construct the pages. You can use Slim or HAML or whatever you like, but I stuck with ERB for this project. You’re going to have to migrate the HTML over into the ERB files manually.
Each page is wrapped using layout.erb. You’ll want to move the parts of the template that apply to every page (like the like HTML <head> section, navigation, and footer) into the layout.erb file. Move the landing page-specific content into index.html.erb. This involves a lot of trial-and-error, just keep at it until it looks right. If you get stuck with a weird error, Google it and I’m sure you’ll find someone else with the same problem (and you can benefit from their solution).
Writing your content and getting it to display correctly is beyond the scope of this blog post, and it’s going to depend a lot on what your site is about. Remember to make frequent, small changes, and that deploys are automated when you push to GitHub.
The Peer Lab site has a list of peer labs around the world, and this list is generated from a yaml file. If you want to do something similar, create a new data directory in the root of your repo and, within it, create a new .yml file. You’ll be able to access the contents of this file as Ruby objects. There’s more info in the Middleman docs, and you can check out my implementation here. I also added documentation about the format of the yaml file to my Readme, you should consider doing it too.
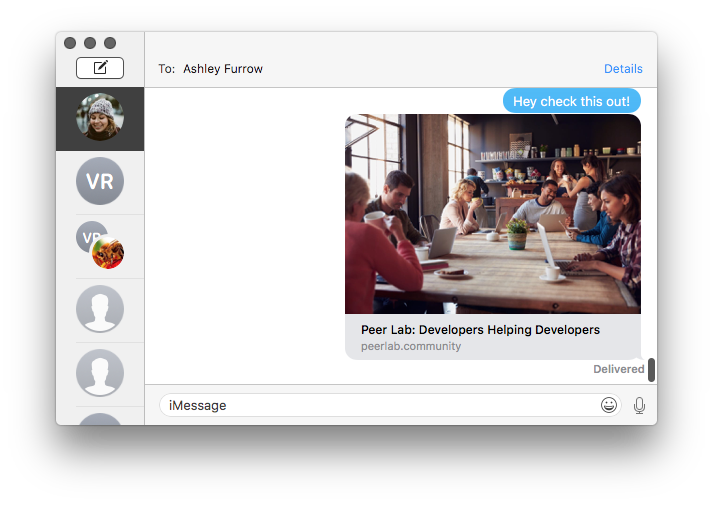
Okay, almost done! The final thing we need to do is think about SEO. Yes, SEO. When someone shares your site on Facebook or Twitter, or sends it as an iMessage, you want it to expand and have a summary card instead of just being an ordinary URL.
There are three groups of <meta> tags to add to your <head>: ordinary tags, Twitter Card tags, and Facebook Open Graph tags. The content of these tags is going to depend on your individual site, but for reference here’s the Twitter Cards documentation, the Facebook Open Graph documentation, and my implementation for the Peer Lab site. Use the Open Graph Debugger to preview what your site looks like when people share it. Nice.
So that’s a rundown on how to quickly create a static website using Middleman. I’ve done this a few times and every time I do, I need to remember all the steps. Now, at the very least, I’ve got documentation 😅
The peer lab site is open source, as is this blog, and both are built with Middleman. My blog is significantly more complicated, though. I’m happy to answer questions about either, just open a GitHub issue and I’ll answer there. Good luck!
Update: I’ve since given a lunch & learn at work on this topic, you can check it out here: